
Sous Vide Lessons
Mar 31, 2023
Lately, I've been receiving emails for tips on using the sous-vide cooking method. I will admit that I am a novice user, but in an effort to better guide you, I dove back in, so I could provide you with tried & true sous vide cooking tips, using Wild Idea's 100% grass-fed/finished bison meat.
Sous vide, pronounced (sous veed), is a French term for cooking food “under vacuum”, in a water bath, to a specific temperature. Many websites will inform you that it is the only way to get restaurant quality… I disagree (more on that later).
My reservations in using the sous vide method are based on two main principles; 1) cooking in plastic, and 2) cooking for long periods of time at low temperatures, where the product is subject to the danger zone (between 40° and 130°) for more than 4 hours.
After researching these concerns, this is what I learned:
- When cooking in plastic, you should avoid BPA, phthalates, polyvinyl chloride (PVC), and dioxins. If it states on the package that it’s microwave safe, then it is ok to use for sous vide. Vacuum sealing is recommended, but zip lock bags will do in a pinch. *I would recommend double bagging and removing as much air as you can from the bags.
- As for the length of cooking time and temperature for safety, it is recommended to cook for no more than four hours if the temperature is below 130°. If cooking above 130°, for long periods of time, 24 to 36 hours is considered safe.
With this new and somewhat comforting knowledge, I got busy in the kitchen, and tried out three separate cuts (not at the same time).
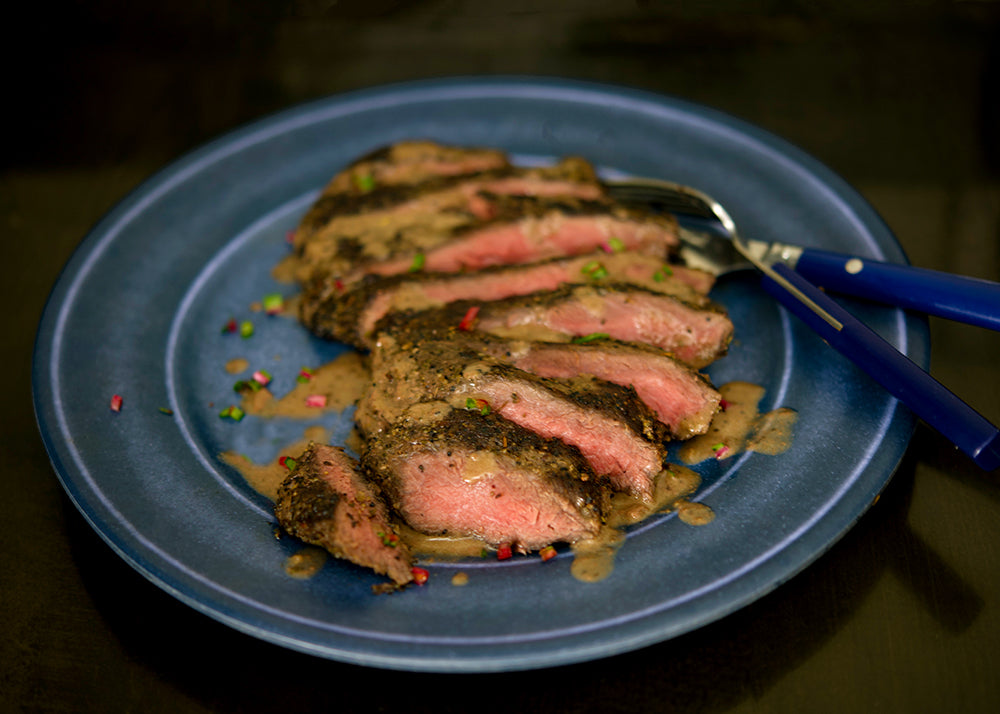
First up, the Round Heel Steak, which is a favorite of mine. To clarify, the Round Heel Steak is not from the heel, but from the heel of the round. It is loaded with flavor and for me tender enough, but, could I make it more tender using the sous vide? The short answer is, no.
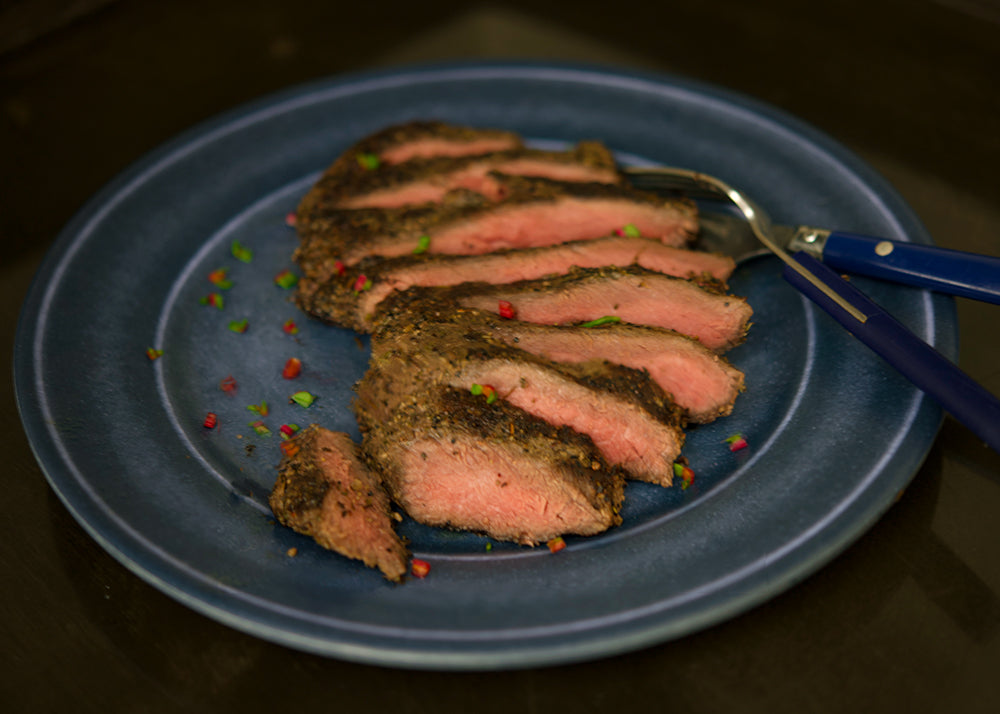
Here's what I did: I prepped the steak as I would normally, which is to rub it with a bit of olive oil and seasonings. I then vacuumed sealed it and allowed it to rest for about an hour at room temperature, then placed it in the water bath at 129° for three hours. There was a quit a bit of steak juices in the bag, which I reserved. I preheated a cast iron skillet to medium high, blotted the steak until it was fairly dry and pan seared it for about a minute on each side. The steak was not more tender and I thought it was drier too. I warmed up the pan juices and whisked in a little butter and drizzled over the top. Final thoughts: For this particular cut, or like and more tender cuts, I do not think the extra fuss of Sous Vide is worth the end results.
Second up, a 3 pound Chuck Roast. Again, this is a favorite of mine, which I typically braise and love! Although braising gives you a more cooked through product, it is always juicy and tender, every single time! I have used Sous Vide for a Chuck Roast before with just OK results, so I wanted to give this another try, using tips received from my last go around. If you are a medium rare fan and love the Chuck Roast, you will like this method.
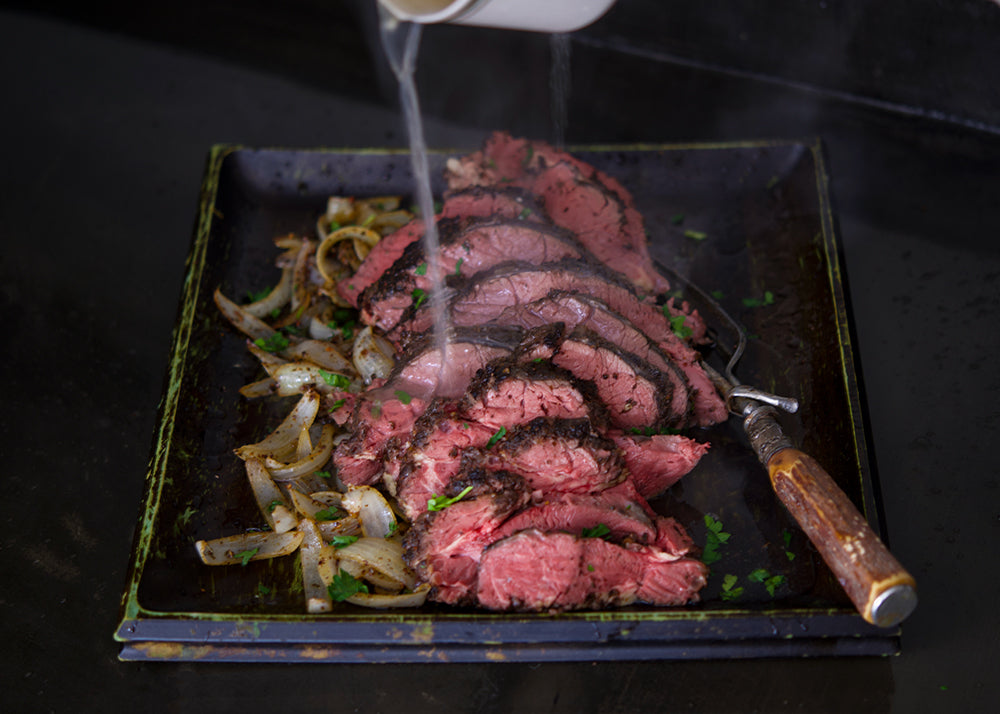
Here’s what I did: I prepped the roast with olive oil and my Steak Rub Seasoning. I left the netting on, vacuum sealed it, and allowed it to rest for an hour before putting it in the 131° water bath for 24 hours. I then carefully removed the netting and seared it over medium high heat for about 4 minutes, turning occasionally as it was searing. The result was a nice medium rare roast, which was tender and delicious. The one thing that didn’t happen - was for the fat to get buttery gelatinous, as that requires higher heat. The fat was more tender and for sure edible, at least for the crowd I was feeding. Here too, I reserved the juices from the bag and added it to buffalo bone broth for a quick au jus.
Next up, Flank Steak. I find this cut to always need a little extra TLC to get it to my liking and here the Sous Vide method didn’t fail!
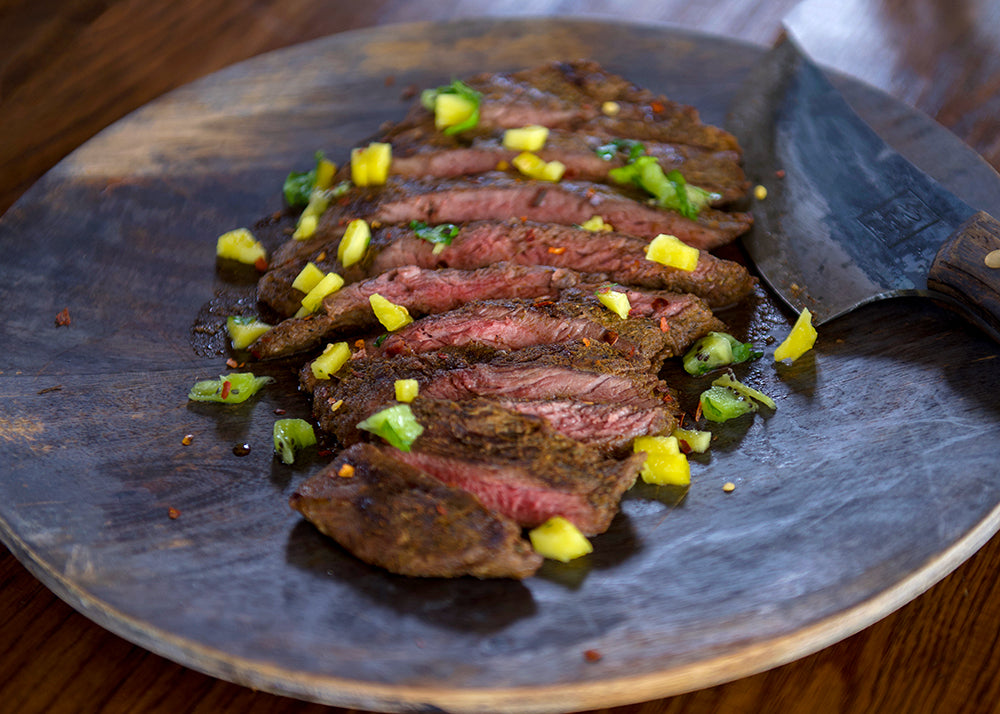
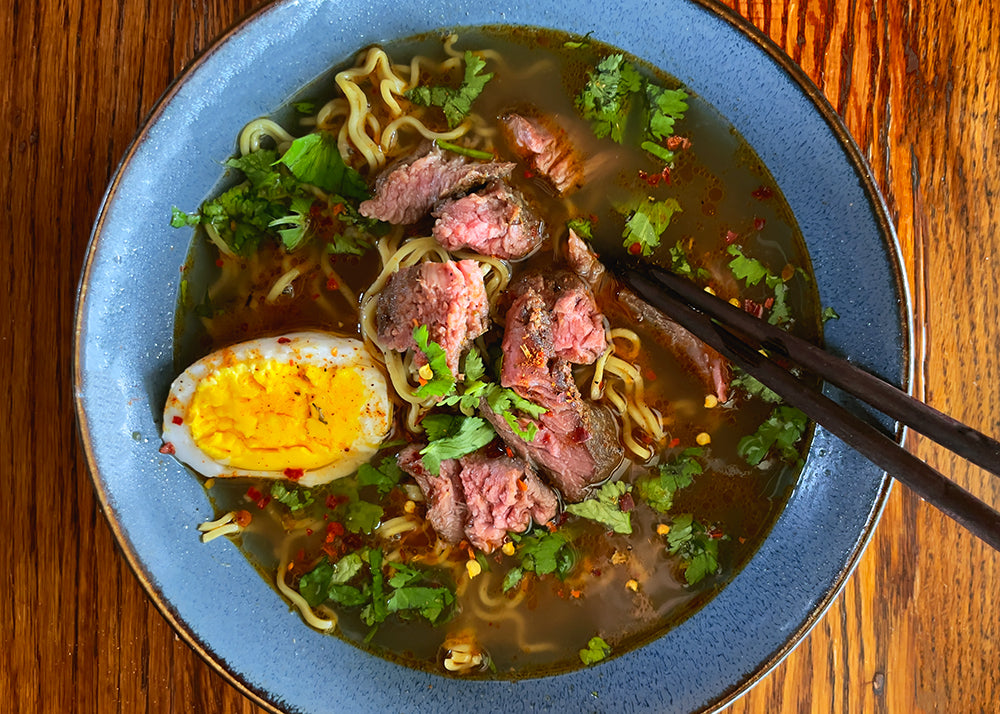
Here’s what I did: Again, like prepping all other cuts I start with rubbing on some olive oil and this time for seasoning I used a tablespoon of my Mexican Seasoning. After vacuum sealing, I rested it at room temperature for an hour before dropping it into the water bath set at 131° for 6 hours. I then grilled it over medium high heat for about a minute on each side. The results were successful, with a tender, medium rare outcome. This was definitely worth the extra fuss and time. I made a quick fruit relish to compliment the meat and reserved the bag juices to use for ramen, along with the left over meat. The Ramen recipe is still need of some refining, but I snapped a quick Iphone photo for reference.
In short, if the cut doesn’t need Sous Vide, I wouldn’t use it. If you are trying to make something tender, and want a medium rare outcome, then I think it’s a good method. Be mindful to adjust your time based on the weight of the product. I hope that this information will be helpful in your Sous Vide cooking.


3 comments
I sous vide quiet a bit and find when sous vide a tough cut of meat 132 deg f for 24 hours is about perfect. Tonight I am cooking an Asian Buffalo Ribeye roast whick are known to carry the same organisms as Bear Meat. I have been advised that this animal is tasty but tough so will be in the Sous vide for 27hrs at 134 F. I’ll sear with a torch
I’m thinking about doing an entire bison tenderloin. Do you suggest sous vide then reverse sear or pellet grill smoker?